Hey there, fellow creators and dreamers! Let’s talk about something that’s been lighting up the creative world lately—building your very own Roblox experience. If you’ve ever wondered how to turn your wildest ideas into a fully-fledged game or world, then this is the ultimate guide for you. Whether you’re a beginner taking your first steps into game development or a seasoned pro looking to expand your skills, we’ve got everything you need to know right here. So, grab your favorite drink, and let’s dive into the magic of Roblox Experience Creation.
You’ve probably heard of Roblox, right? It’s not just a platform; it’s a universe where imagination knows no bounds. And if you’re reading this, chances are you’re ready to step up your game and create something truly remarkable. The Roblox dashboard is your gateway to making that happen, and today, we’re going to break it all down for you.
Before we get into the nitty-gritty, let’s set the stage. Creating an experience on Roblox isn’t just about coding or designing—it’s about storytelling. It’s about crafting a world that players will love, explore, and remember. So, buckle up because we’re about to take you on a journey through the ins and outs of Roblox experience creation, from setting up your dashboard to publishing your masterpiece.
Read also:Is Jay Leno Still Alive The Truth Behind The Rumors
Understanding the Roblox Dashboard: Your Creative Hub
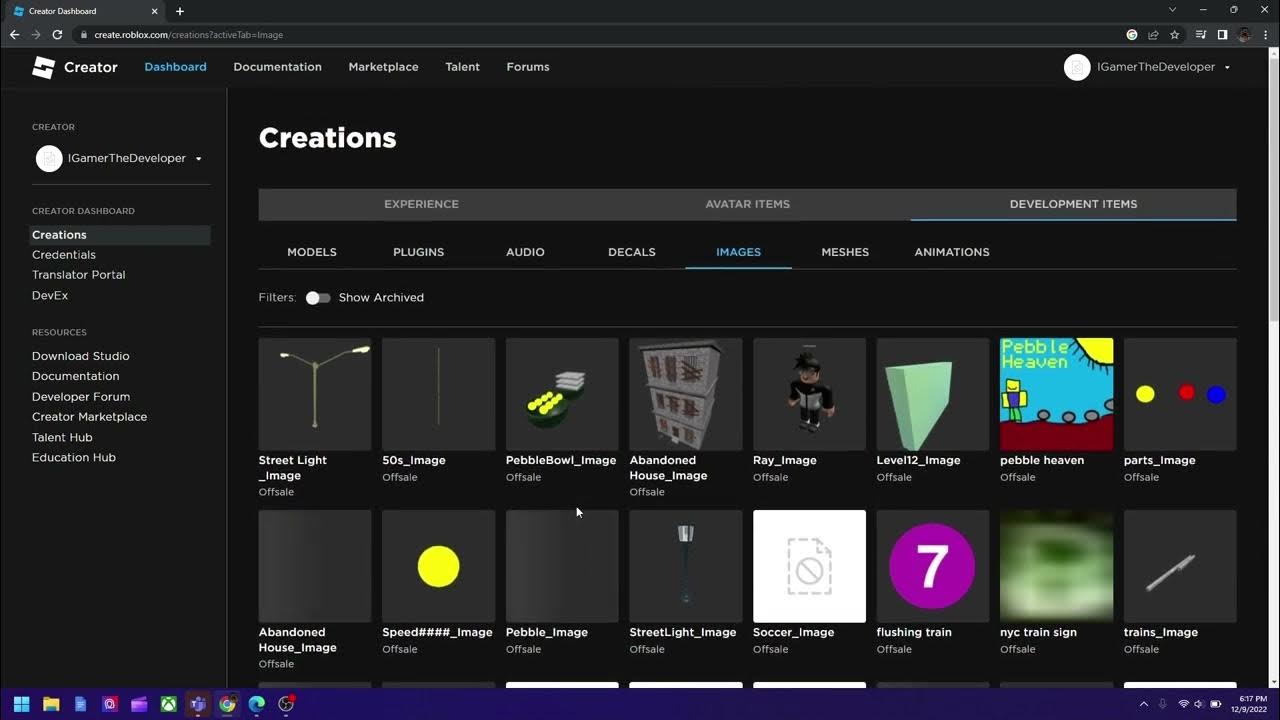
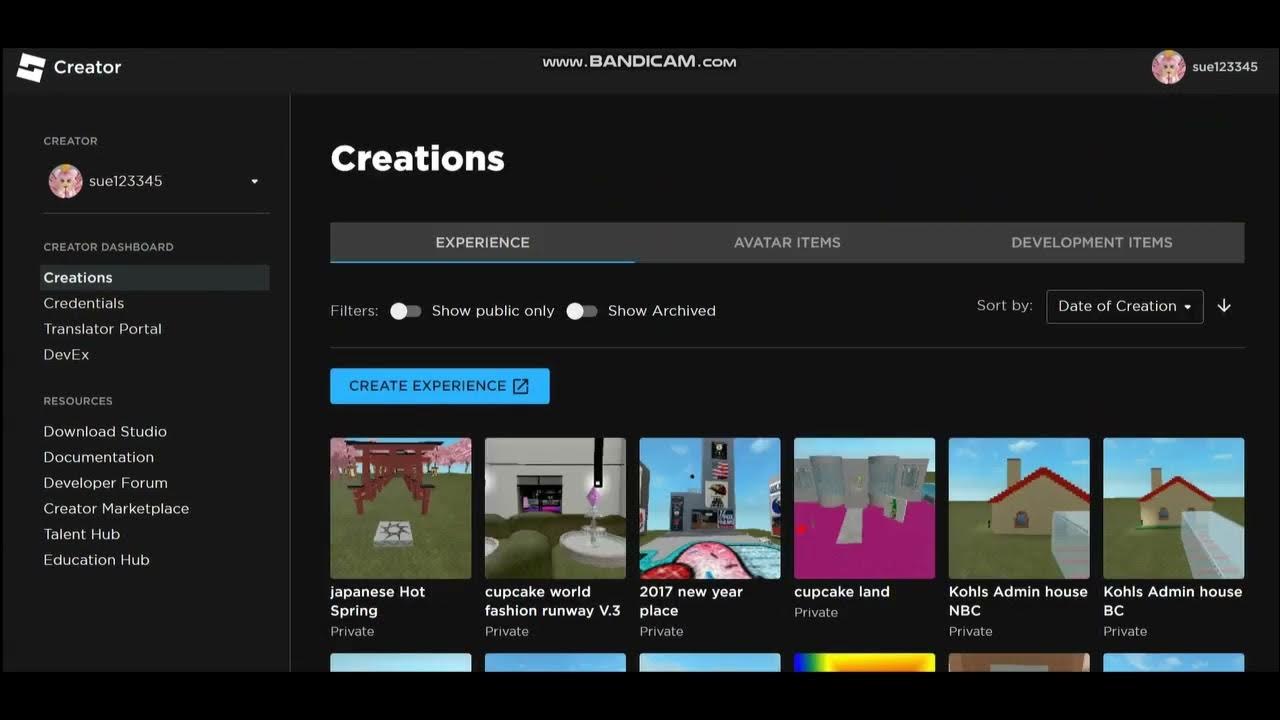
Alright, let’s start with the basics. When you log into your Roblox account and head over to https://create.roblox.com/dashboard/creations/experience, you’ll be greeted by the dashboard—a place where all your creative dreams come true. This is where you’ll manage your experiences, check stats, and even collaborate with others. Think of it as your digital workspace, but way cooler.
The dashboard is packed with features that make game creation easier and more streamlined. From here, you can create new experiences, edit existing ones, and even dive into analytics to see how your creations are performing. It’s like having a personal assistant that helps you keep track of everything. And trust me, once you get the hang of it, you’ll wonder how you ever lived without it.
Key Features of the Roblox Dashboard
Now, let’s break down some of the key features you’ll find in the dashboard:
- Experience Management: Create, edit, and delete experiences with ease.
- Analytics: Track player engagement, views, and other important metrics.
- Collaboration Tools: Invite friends or team members to work on your projects together.
- Settings: Customize your experience settings to fit your vision.
These features are designed to help you focus on what matters most—creating amazing content. So, don’t be intimidated by all the options. Take your time to explore and experiment, and you’ll soon find yourself navigating the dashboard like a pro.
Getting Started: Creating Your First Roblox Experience
Ready to create your first Roblox experience? Let’s walk you through the process step by step. It’s simpler than you might think, and with the right tools and mindset, you’ll be up and running in no time.
Step 1: Head over to the Roblox dashboard and click on “Create New Experience.” You’ll be prompted to choose a template or start from scratch. Templates are a great way to get inspiration and see how things work, so don’t hesitate to use them if you’re just starting out.
Read also:Purvesh Mankad The Rising Star Redefining Talent In The Modern Era
Step 2: Customize your experience. This is where the fun begins! You can change the name, description, and even the thumbnail of your experience. Think of these elements as the first impression players will have of your creation, so make them count.
Choosing the Right Template
Templates are your best friend when it comes to Roblox experience creation. They provide a solid foundation and can save you tons of time. Here are a few popular templates to consider:
- Adventure: Perfect for creating quest-based games.
- Survival: Ideal for crafting intense survival experiences.
- Racing: Great for designing fast-paced racing games.
Remember, templates are just a starting point. Feel free to modify them to fit your vision and make them your own.
Designing Your Experience: The Art of World-Building
Now that you’ve set up your experience, it’s time to dive into the design phase. This is where your creativity truly shines. Whether you’re building a sprawling city or a mysterious forest, every detail matters. Let’s talk about some key aspects of world-building in Roblox.
Terrain Tools: The terrain tools in Roblox Studio are incredibly powerful. You can sculpt landscapes, add water, and even create mountains. It’s like having a digital playground at your fingertips. Experiment with different textures and shapes to bring your world to life.
Place Objects: Objects are the building blocks of your experience. From trees and buildings to vehicles and props, there’s a vast library of objects you can use to decorate your world. Don’t be afraid to mix and match to create unique environments.
Adding the Final Touches
Once you’ve built the foundation of your world, it’s time to add those finishing touches. Think about lighting, weather effects, and music. These elements can completely transform the atmosphere of your experience and make it more immersive for players.
Pro tip: Pay attention to the details. Sometimes, it’s the little things that make the biggest impact. For example, adding ambient sounds like birds chirping or waves crashing can make your world feel more alive.
Scripting and Coding: Bringing Your Experience to Life
Let’s face it—coding can be intimidating, especially if you’re new to it. But don’t worry, Roblox makes it easier than ever to learn and implement scripts in your experiences. Lua is the programming language used in Roblox, and it’s surprisingly beginner-friendly.
Basic Lua Concepts: If you’re just starting out, focus on mastering the basics. Learn about variables, functions, and loops. These are the building blocks of any script and will help you create interactive elements in your experience.
Using Plugins: Plugins are pre-made scripts that you can use to add functionality to your experience without having to code everything from scratch. They’re a great way to save time and effort while still achieving professional results.
Resources for Learning Lua
If you’re serious about scripting, there are plenty of resources available to help you learn. Here are a few recommendations:
- Roblox Developer Hub: A treasure trove of tutorials and guides.
- YouTube Tutorials: Visual learners, this one’s for you. There are tons of great channels dedicated to teaching Lua.
- Forums and Communities: Engage with other creators and get feedback on your scripts.
Remember, practice makes perfect. The more you code, the more comfortable you’ll become with Lua and its possibilities.
Testing and Debugging: Perfecting Your Experience
Before you hit that publish button, it’s crucial to test and debug your experience. This is where you catch any bugs or issues that might affect the player experience. Testing is an essential part of the creation process, and it’s something you should do regularly throughout development.
Using the Test Mode: Roblox Studio has a built-in test mode that allows you to play your experience and see how it performs. This is the perfect opportunity to check for any errors or glitches and make necessary adjustments.
Getting Feedback: Don’t be afraid to share your experience with others and ask for feedback. Sometimes, a fresh pair of eyes can spot issues you might have missed. Plus, it’s always great to hear what people think about your creation.
Common Issues and How to Fix Them
Here are a few common issues you might encounter during testing and how to fix them:
- Lag: Optimize your experience by reducing the number of objects or using simpler textures.
- Script Errors: Double-check your code for typos or logical errors.
- Navigation Problems: Ensure that paths and obstacles are properly placed for smooth gameplay.
Testing might seem like a chore, but it’s one of the most important steps in ensuring a successful experience.
Publishing Your Experience: Sharing Your Creation with the World
After all your hard work, it’s finally time to publish your experience and share it with the world. Publishing is the moment of truth, but with a little preparation, you can ensure a smooth launch.
Final Checks: Before publishing, make sure everything is in order. Double-check your settings, test your experience one last time, and ensure that all assets are properly uploaded.
Promoting Your Experience: Once your experience is live, it’s time to spread the word. Share it on social media, join Roblox communities, and engage with players. The more people know about your creation, the better chance it has of succeeding.
Engaging with Your Audience
Engagement is key to building a loyal player base. Respond to comments and feedback, update your experience regularly, and show your audience that you care about their experience. Building a community around your creation can lead to long-term success and growth.
Monetization and Growth: Turning Your Passion into Profit
Let’s talk about the elephant in the room—making money from your Roblox experiences. While creativity should always be your primary focus, there’s nothing wrong with wanting to monetize your work. Roblox offers several ways to earn revenue, and with the right strategies, you can turn your passion into profit.
Selling Items: Create and sell unique items in your experience, such as outfits, vehicles, or accessories. This is a popular way to generate income while adding value to your players’ experience.
Roblox Premium: Encourage players to join Roblox Premium, which offers benefits like increased revenue sharing for creators.
Building a Sustainable Business
Monetization isn’t just about making a quick buck. It’s about building a sustainable business that allows you to continue creating and innovating. Focus on delivering high-quality content, engaging with your audience, and exploring new opportunities for growth.
Conclusion: Your Journey as a Roblox Creator
And there you have it, folks—a comprehensive guide to creating your own Roblox experience. From setting up your dashboard to publishing your masterpiece, we’ve covered everything you need to know. Remember, the key to success in Roblox creation is passion, persistence, and a willingness to learn.
So, what are you waiting for? Head over to https://create.roblox.com/dashboard/creations/experience and start building your dream experience today. Don’t forget to share your creations with the world and engage with your audience. The Roblox community is full of talented creators just like you, so don’t be afraid to collaborate and learn from others.
Lastly, if you found this guide helpful, leave a comment below and let us know what you think. And if you’re feeling generous, share this article with your friends and fellow creators. Together, we can build a better, more creative Roblox universe. Happy creating!
Table of Contents
- Understanding the Roblox Dashboard: Your Creative Hub
- Getting Started: Creating Your First Roblox Experience
- Designing Your Experience: The Art of World-Building
- Scripting and Coding: Bringing Your Experience to Life
- Testing and Debugging: Perfecting Your Experience
- Publishing Your Experience: Sharing Your Creation with the World
- Monetization and Growth: Turning Your Passion into Profit
- Conclusion: Your Journey as a Roblox Creator